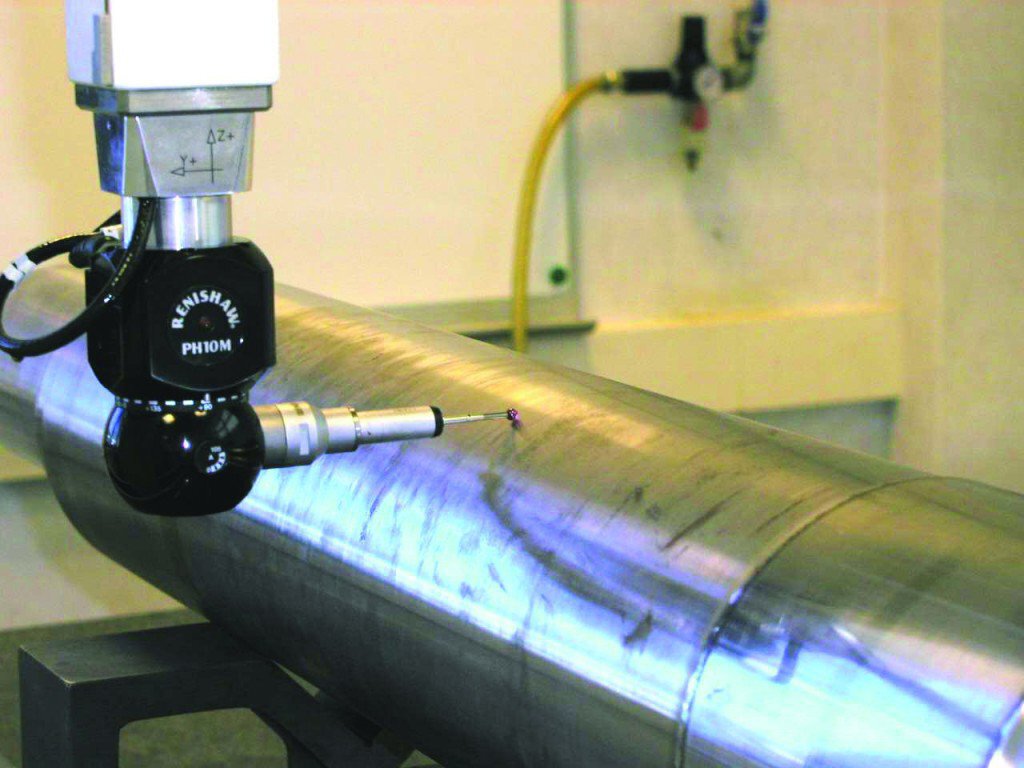
Dimensional controls
Better understand fracture, wear and deformation phenomena for both new and used parts.
Tests objectives
- Take dimensional measurements (radius, diameter, depth, angle, etc.):
– For complex and three-dimensional parts (precision: ± 3 microns)
– For new or used parts – measurement of dimensions specified on the plan (railway safety components, equipment, etc.) - Measure shape and position defects: Straightness, flatness, circularity, cylindricity, circular shape, parallelism, perpendicularity, coaxiality, concentricity, etc.
- Measure surface condition, thread dimension, threads or grooves
Tests facilities
- 3D measuring machine (Tri-mesures)
- Profile projector (Starett-Sigma)
- Measuring column (Roch)
- Numerous other measuring devices: Micrometers, gauges, roughness testers, etc.
Testing norms
EN ISO 286 – Geometrical product specifications (GPS) – ISO code system for tolerances on linear sizes.
EN 22768-1 & 2 – General tolerances – Part 1: Tolerances for linear and angular dimensions without individual tolerance indications – Part 2: Geometrical tolerances for features without individual tolerance indications
NF F00-037 – Railway equipment in general – Tolerances on metal parts – Permissible deviations on dimensions without tolerance indications – Allowance for machining
NF ISO 965 – ISO general purpose metric screw threads – Tolerances
NF ISO 4288 – Geometrical Product Specifications (GPS) – Surface texture: Profile method – Rules and procedures for the assessment of surface texture

Please complete the contact form. One of our engineers will be in touch with you as soon as possible.
Go to formOur references
CIRCOR
GREMCO
RATP
SNCF


